Hyperionix Management Console
Hyperionix Management Console, or HMC for short, lets you control multiple agents from a central location. You can use it to deploy new agents, control existing agents, add or remove probes from agents, send commands to agents and more.
To access HMC go to https://admin.hyperionix.com.
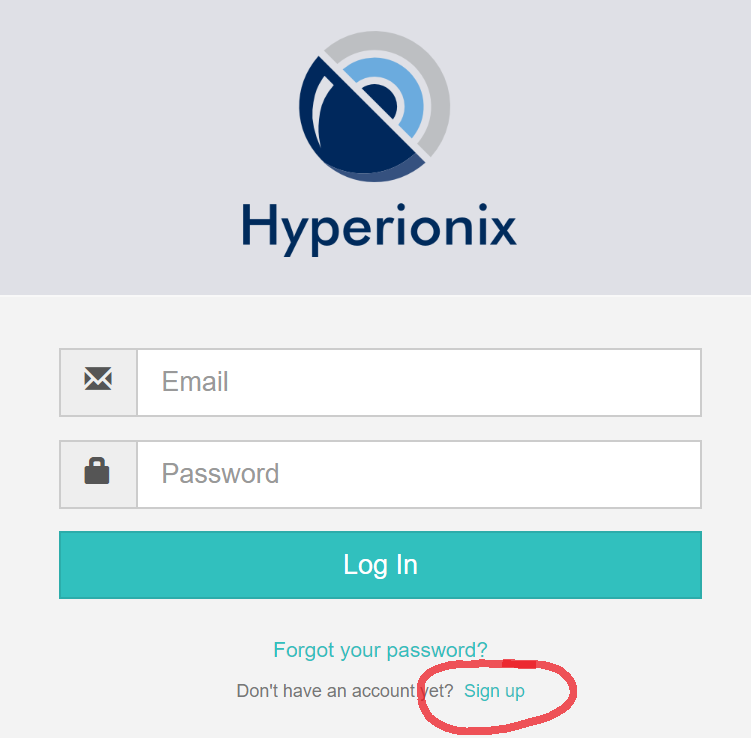
Sign-up
An account is required to use HMC. Your agents will be tied to your specific account and no one else will be able to access or view them. If you don’t yet have an account, click on Sign up at the bottom of the page.
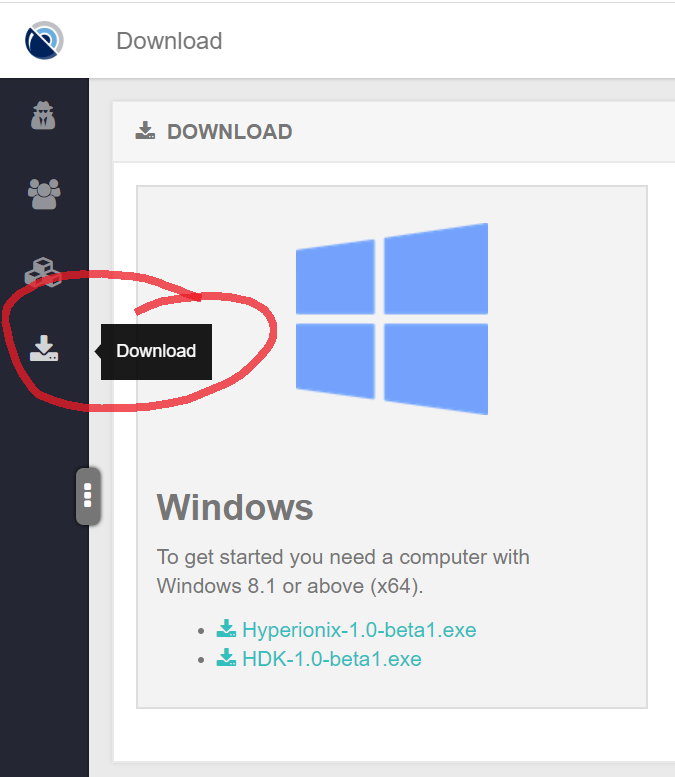
Download Agent and HDK
The first thing you want to do after signing-up is download the agent installer so you can deploy it on your machines, or download the HDK so you can start building your own hooks and probes. To download the tools, use the Download icon on the left menu.
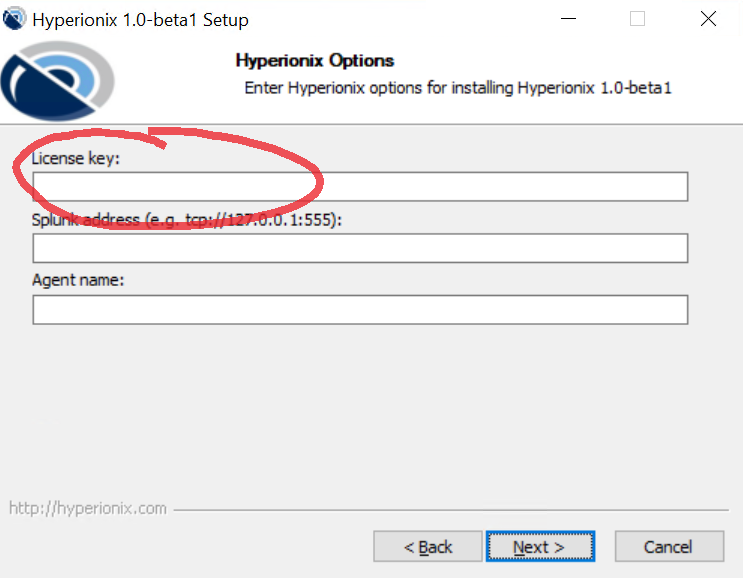
When installing agents, you will be asked for a license key. To get your key, go to the Account menu on the top right and choose Keys. From there, click the Copy button to copy your license key to the clipboard.

You will be asked for the key during installation. Simply paste the key you got from HMC into the installer.
Enable Agents
Once an agent is installed and connected, you will see it in the Agents page. You can access the Agents page from the left menu. Agents are always disabled when they first connect. This allows you greater control of what agents to allow in your network. Disabled agents are highlighted with a red background to make them easier to notice.
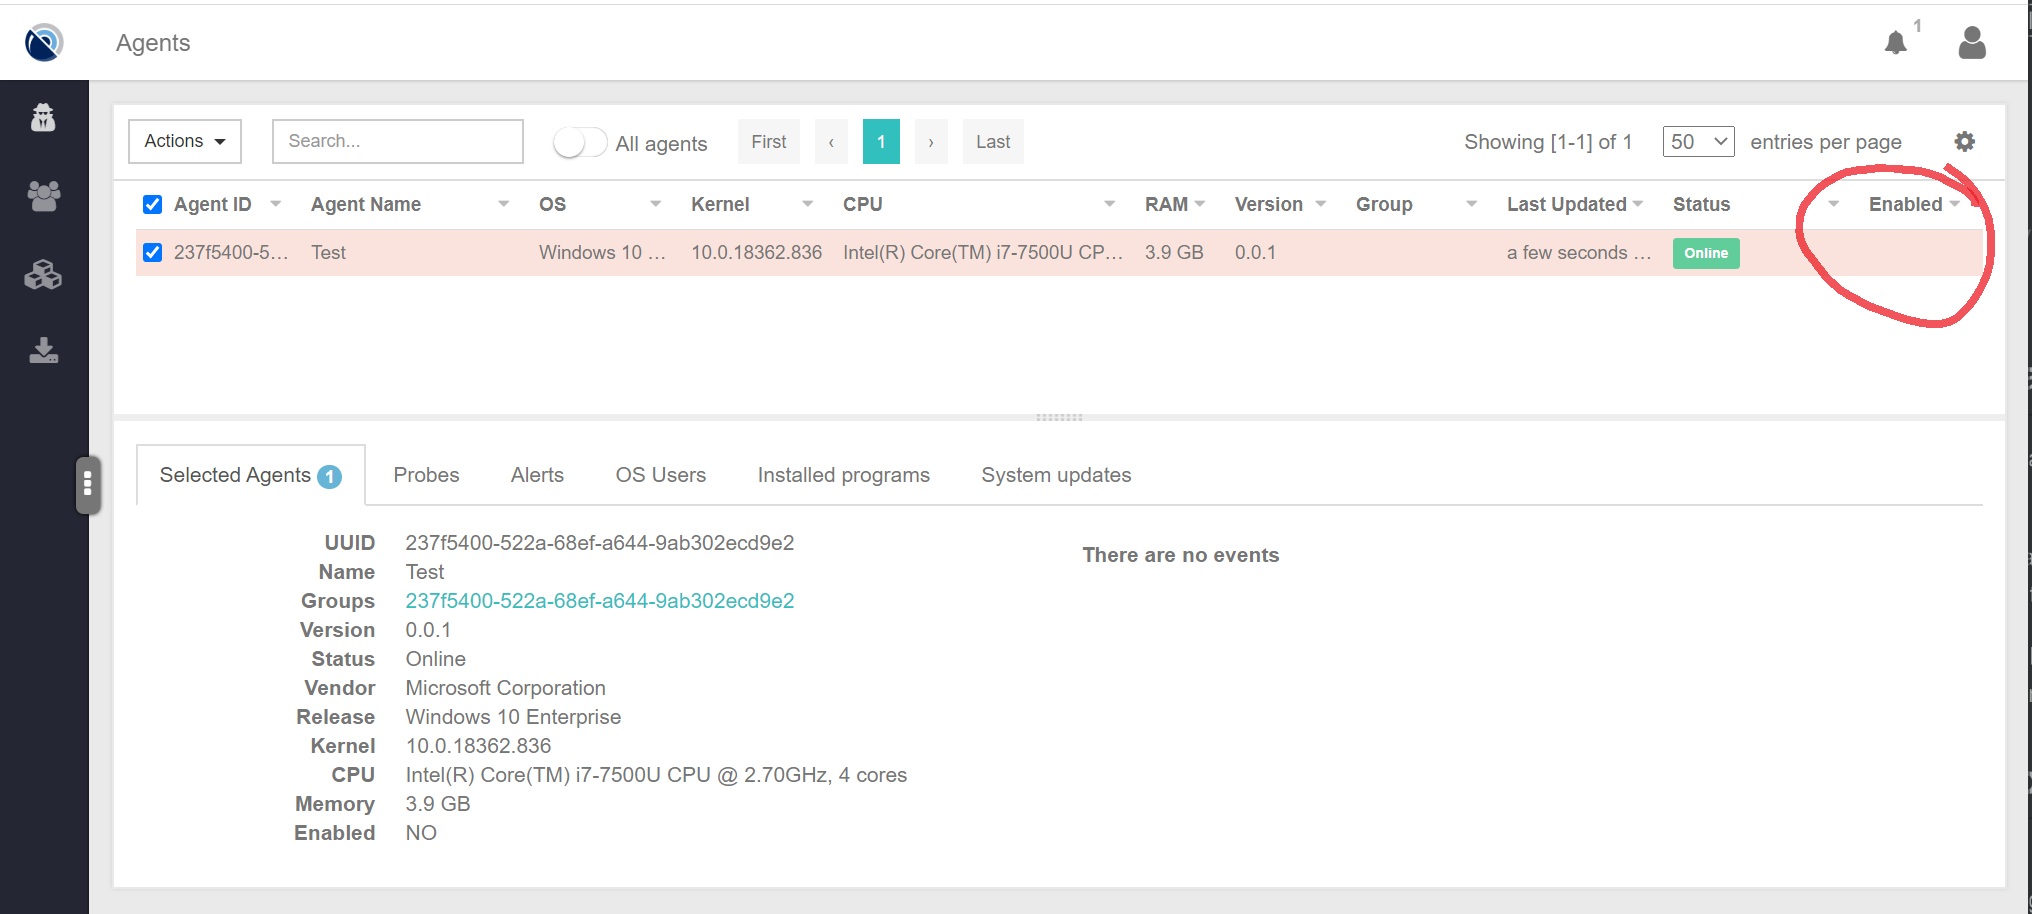
To enable an agent:
- Select the agent by clicking it
- Click the Actions menu on the top left
- Select Enable to enable the agent
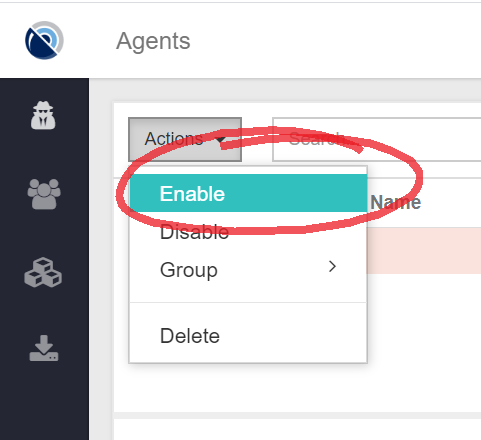
You can also select multiple agents at once and enable them in bulk.
Agent Probe Management
Once the agents are installed, connected and enabled; it’s time to install and configure some probes. With probse your agents can start tracking or modifying the system behavior.
Installing Probes
- Go to Agents page.
- Select agents where probe should be installed.
- Choose Probes tab in the bottom half of the page.
- Click on Add probes button, choose probes you want to install, and finally click Add probes
- Click Apply configuration. Wait until the operation will be completed.
Removing Probes
- Choose an agent.
- Go to Probes tab
- Choose probes you want to remove
- Actions -> Uninstall probes
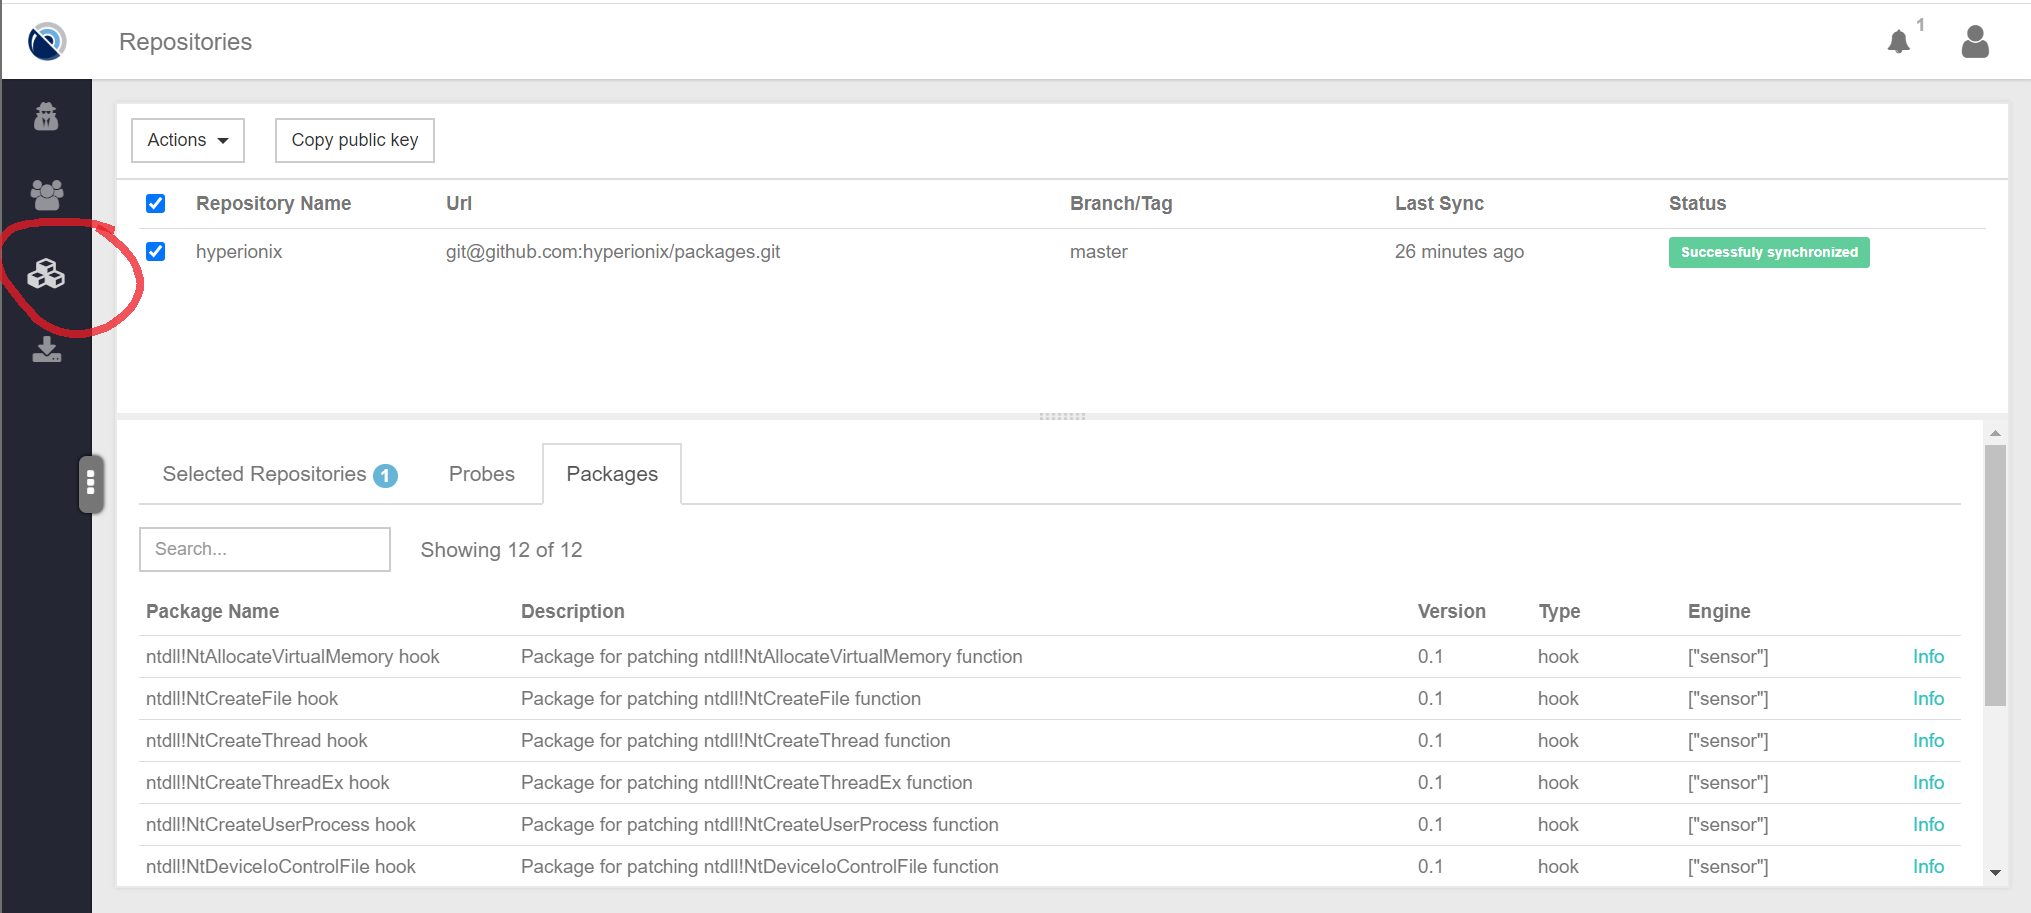
Package Repositories
To use probes from repositories other than the built-in Hyperionix library of probes, you can add your own repositories or even third party repositories. To manage repositories use the Repositories page accessible through the left menu.
Our main Hyperionix repository is added by default, but can be removed.
Adding New Repositories
NOTE: Only GitHub and BitBucket repositories are currently supported.
Go to Actions -> Add menu. To add a repository you need to set its name and address like for git clone command. Both HTTPS and SSH are supported. You can also choose a branch you want to use.
- For GitHub private repositories you have to create a personal access token with repo access and add it to API token field.
- For BitBucket private repositories you have to add the Hyperionix access key to your repository settings.
- On Repositories page copy the key using button Copy public key
- Add it to your repository settings using this documentation starting from Step 3.
Repository Synchronization
HMC doesn’t automatically pull your repository. If you push changes to your repository, you must tell HMC to pull them manually or they will not be used. You must also manually synchornize a repository after adding it for the first time.
- Select the repositories you want to pull
- Actions -> Synchronize